
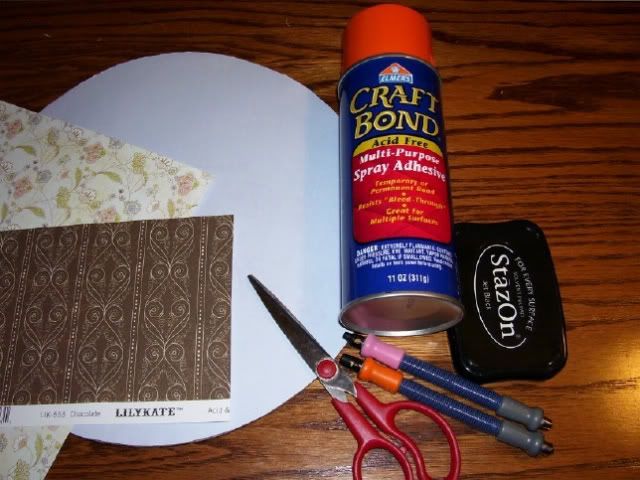
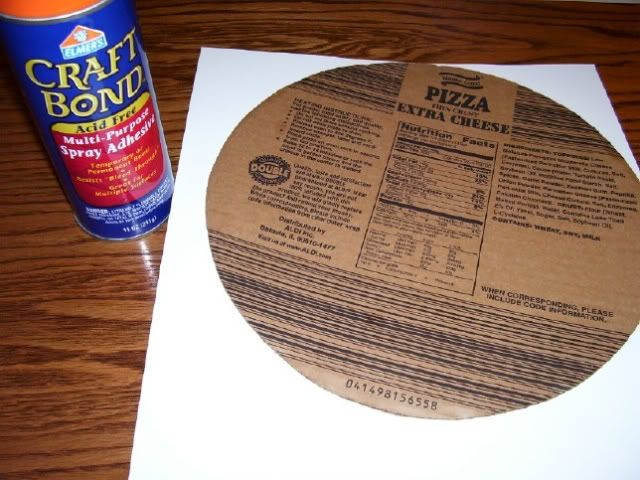
1 ~ 12 inch round pizza cardboard
Spray on Adhesive
Scraps or sheets of pattern paper
1 yard of ribbon
embellishments of your choice
photo {s}
scissors
hole punch (whatever you have on hand)
ink (opitional)
Step #1: Collect you supplies. Don't forget the ribbon, cut you yard of ribbon in half. Not shown in photo's. Take the spray adhesive and give your pizzia cardboard a good coat. Stick to pp. Let dry for at least 3 minutes. Then cut your circle out around your pizza board.
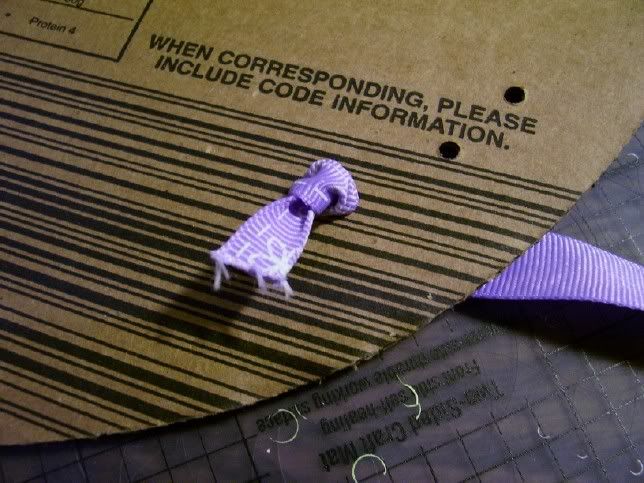
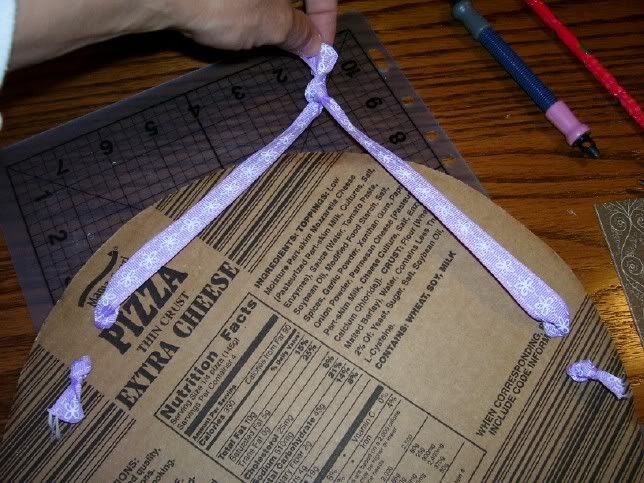
Step #2: I inked my edges before starting this step. Take your hole punch and at 10:00 and 2:00 punch three holes at each area. Here you will take your yard of ribbon and poke it through the bottom hole and tie a knot.
Step #3: Weave your ribbon down through the second (middle) hole.
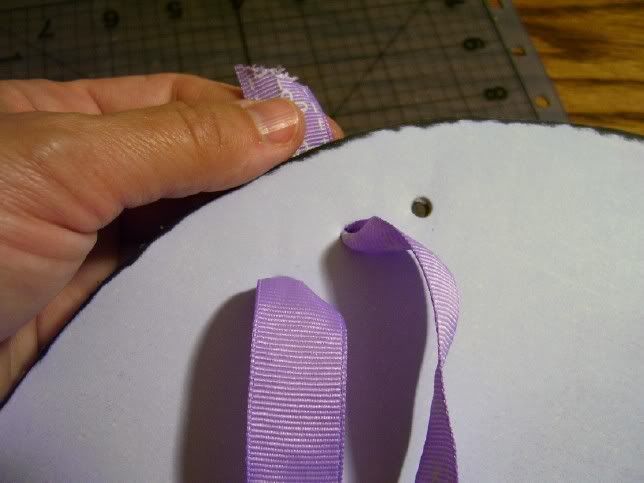
Step #4 - FRONT SIDE VIEW: Then back up through the third hole and down through the second hole again. Do this for both sides. Repeat steps 2-4 for the other side.
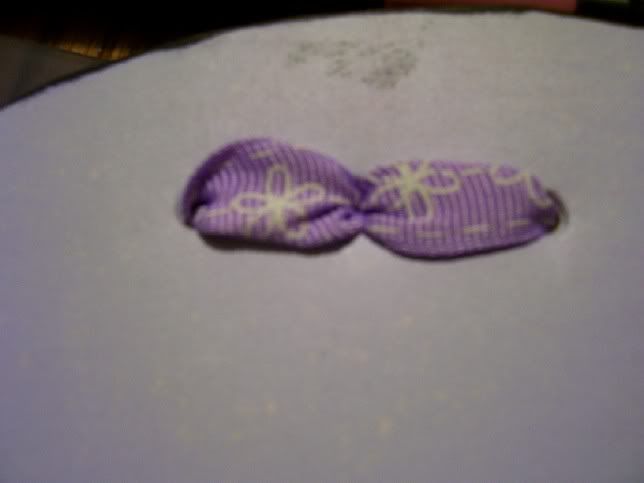
Step #5 - BACK SIDE VIEW: Tie the ends of your ribbon together to make you hanger. Like shown. (Note: you don't have to cut your ribbon to tie the knot you can leave it as a whole piece.)
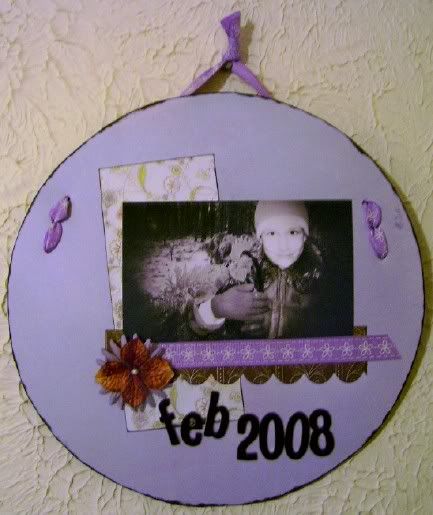
Step #6: Decorate to you liking.
15 comments:
Great tutorial Dawn, I'll have to have a go at one of these. TFS. Have a good weekend.
Great project !
Cool idea! My girls and I have purchased those little $1 plaques at Michael's on clearance for 50 cents each, and we've altered them. I love making personalized room hangings. Where do you get clean pizza cardboard? Anytime we have a frozen pizza, the cardboard is a mess. FUN project Dawn!
absolutely fab!!! thanks for tutorial, :) xx
Fantastic project Dawn...Have a great weekend:)x
THANX FOR THE TUTORIAL DAWN,I THINK THAT WOULD FEEL WEIRD WORKING WITH A HUGE CIRCLE INSTEAD OF A SQUARE!!!
Woweee that is awesome Dawn, what a fab idea and thanks so much for the tutorial. I just love seeing how things are made it's so much fun :D
cool tutorial and what an awesome idea Dawn!!!!
Love this - what a great tutorial, girl!!! Have a fabulous weekend Dawn!
*STAMPIN HUGS* Alex
Great tutorial Dawn. Thanks for it.
WOW! How cool is this?! Fabulous tutorial as well! Thanks so much for sharing! Have a great weekend! :)
Wow, great idea! Thanks for the tutorial, I will have to make one!
How cute! What a fab way to recycle some card board. Great tutorial too. TFS!! :)
HeHe I see now I should have started at the bottom of your post. Love it!!
Way to go with creating tutorials Dawn ! Great project ! thanks for sharing !
Post a Comment