First Card: Used Tamara's Card Sketch #41.
Second Card
Third Card
All these card are using Savvy N Sassy April ZZ 'Take Five' Kit.
Tuesday, April 29, 2008
Cherie's Sketches Blog
OM you all have just got to go look at this amazing sketch site by a dear friend, Cherie. You just really got to go have a look. Lots of great inspiration. I will also be linking Cherie's Blog up in my blogroll so it will always be here for you. But I recommend that you post a link in your blogroll for easier access.
Click on Cherie's name that is neon green! And enjoy yourself!
Friday, April 25, 2008
ScrapCity Weekend Crop.....
starts tonight at 4:00 pm CDST (Central Daylight Saving Time). You just have to head on over and join in. There's lots of fun challenges, RAKS and the big prize package to win. I'm serious you will definitely have the time of your life at ScrapCity.
Thursday, April 24, 2008
ScrapCity April Projects
These projects were made with ScrapCity April Sponsor ScrapperXchange KIT~my kit had lots of yummy goodies in it. Papers in the kit are Basic Grey 'Recess' Papers. I've go so much of this kit left.
Layouts
My Cards~The photo of the four cards together was combined with Savvy N Sassy April Ribbon Kit.
Altered Wall Hanger was combined with my Savvy N Sassy April Ribbon Kit. You can find a link to this ribbon in the post before this one.
Layouts
My Cards~The photo of the four cards together was combined with Savvy N Sassy April Ribbon Kit.
Altered Wall Hanger was combined with my Savvy N Sassy April Ribbon Kit. You can find a link to this ribbon in the post before this one.
Wednesday, April 23, 2008
Savvy N Sassy DT Projects
For the month of April we had a Sponsor: Tin Box Creations along with our Savvy N Sassy April ZZ 'Take Five' Kit. We had to combine some of our monthly projects using both. And this is what I came up with using both.
Two altered projects:
Altered Pizza Cardboard into a wall hanger.
Altered Molasses (Paint) Can
My 4 Cards:
Two altered projects:
Altered Pizza Cardboard into a wall hanger.
Altered Molasses (Paint) Can
My 4 Cards:
Saturday, April 19, 2008
4 You Card
Friday, April 18, 2008
Altered Pizza Board~Wall Hanger
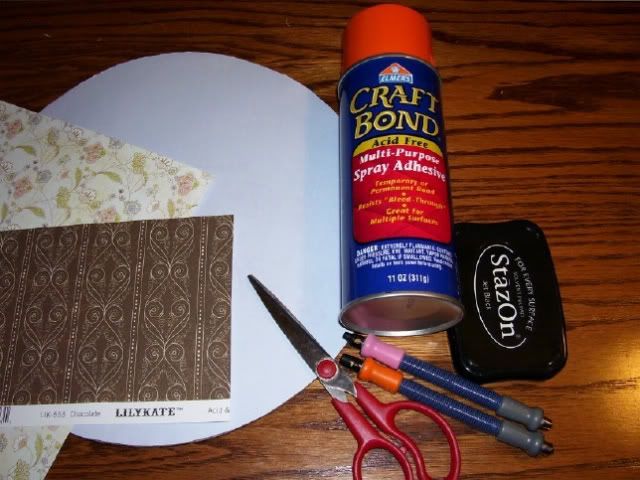
Supply List:
1 ~ 12 inch round pizza cardboard
Spray on Adhesive
Scraps or sheets of pattern paper
1 yard of ribbon
embellishments of your choice
photo {s}
scissors
hole punch (whatever you have on hand)
ink (opitional)
Step #1: Collect you supplies. Don't forget the ribbon, cut you yard of ribbon in half. Not shown in photo's. Take the spray adhesive and give your pizzia cardboard a good coat. Stick to pp. Let dry for at least 3 minutes. Then cut your circle out around your pizza board.
Step #2: I inked my edges before starting this step. Take your hole punch and at 10:00 and 2:00 punch three holes at each area. Here you will take your yard of ribbon and poke it through the bottom hole and tie a knot.
Step #3: Weave your ribbon down through the second (middle) hole.
Step #4 - FRONT SIDE VIEW: Then back up through the third hole and down through the second hole again. Do this for both sides. Repeat steps 2-4 for the other side.
Step #5 - BACK SIDE VIEW: Tie the ends of your ribbon together to make you hanger. Like shown. (Note: you don't have to cut your ribbon to tie the knot you can leave it as a whole piece.)
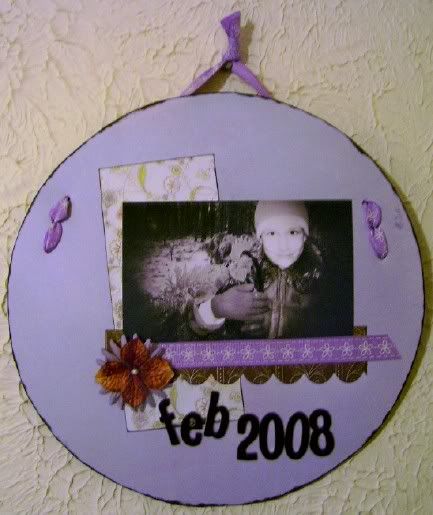
Step #6: Decorate to you liking.
1 ~ 12 inch round pizza cardboard
Spray on Adhesive
Scraps or sheets of pattern paper
1 yard of ribbon
embellishments of your choice
photo {s}
scissors
hole punch (whatever you have on hand)
ink (opitional)
Step #1: Collect you supplies. Don't forget the ribbon, cut you yard of ribbon in half. Not shown in photo's. Take the spray adhesive and give your pizzia cardboard a good coat. Stick to pp. Let dry for at least 3 minutes. Then cut your circle out around your pizza board.
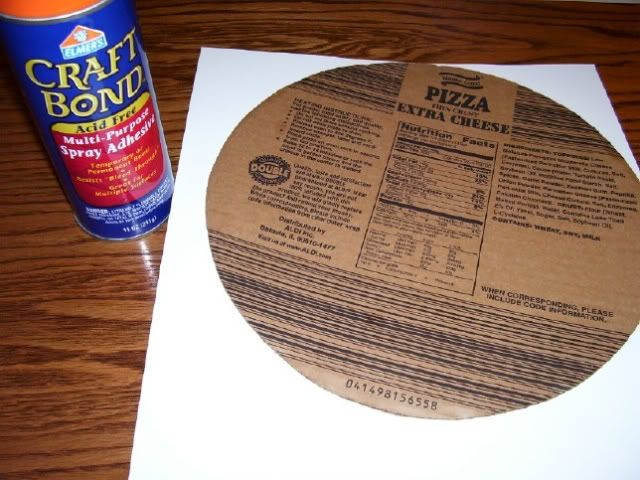
Step #2: I inked my edges before starting this step. Take your hole punch and at 10:00 and 2:00 punch three holes at each area. Here you will take your yard of ribbon and poke it through the bottom hole and tie a knot.
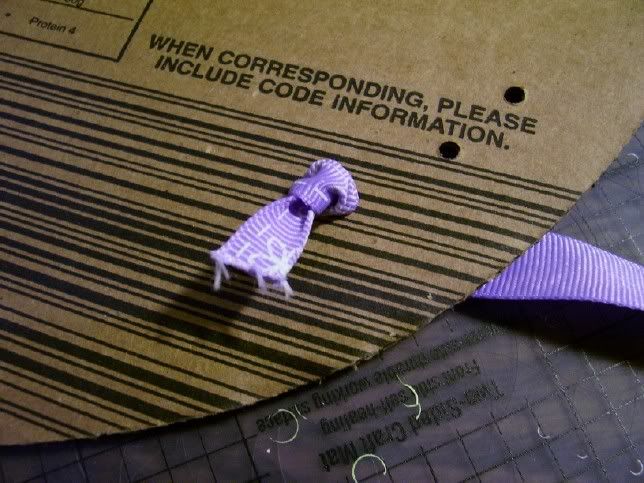
Step #3: Weave your ribbon down through the second (middle) hole.
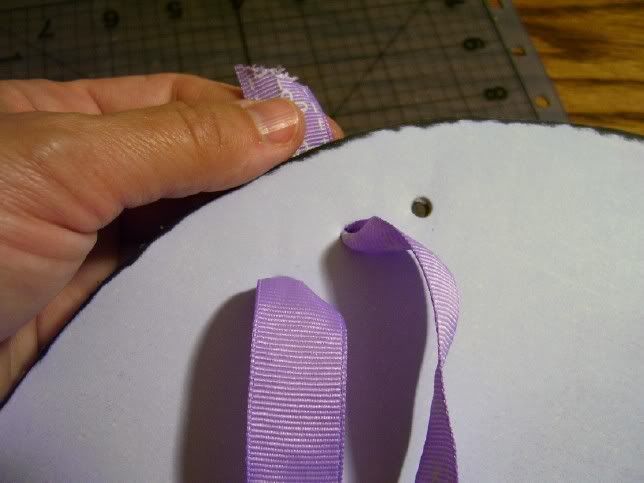
Step #4 - FRONT SIDE VIEW: Then back up through the third hole and down through the second hole again. Do this for both sides. Repeat steps 2-4 for the other side.
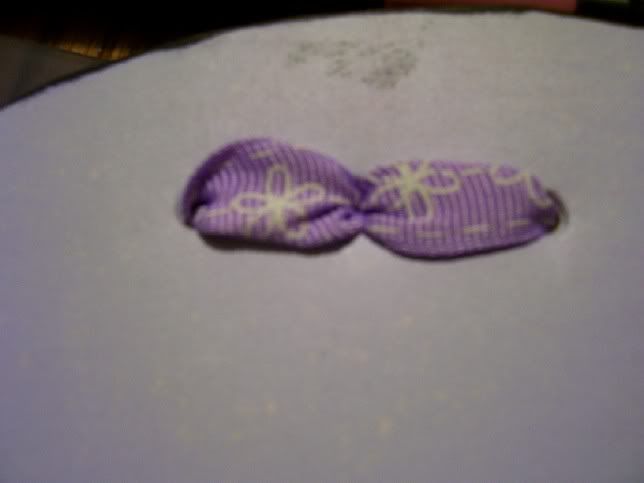
Step #5 - BACK SIDE VIEW: Tie the ends of your ribbon together to make you hanger. Like shown. (Note: you don't have to cut your ribbon to tie the knot you can leave it as a whole piece.)
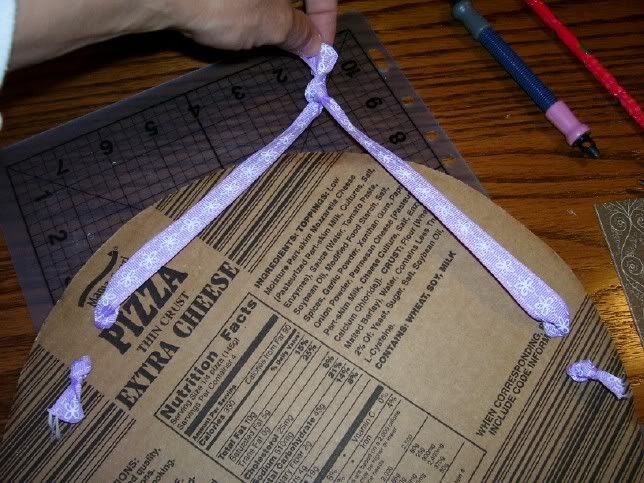
Step #6: Decorate to you liking.
Thursday, April 17, 2008
Sketches! #40-PS I love You Card
Ok this card I combine three of my DT to make this baby happen. The sketch is from Tamara (Sketches! {by Tamara}, Ribbon supplied by Savvy N Sassy and ScrapCity April KIT. You can find all the links in my sidebar for these places.
Wednesday, April 16, 2008
Wall Hanger....
Monday, April 14, 2008
Why I've been MIA!
Hello ladies! I'M BACK! OMG it's so very wonderful to be back online! I missed you gals! A week ago Thursday (Apr 3) night we had some very serious lighting and thunderstorms through the night. I mean way bad storms. We didn't think it was gonna be to bad when we went to bed that night. But it was. Of course we didn't unhook anything. Because it take up to two days to get our DSL hooked back up. So hubby being that last on that night just left everything hooked up. Woke up the next morning came in here where the computer was. And we had absolutely no DSL. It got fried. Found this out when hubby tore apart the DSL box. My PC was totally fine but not the DSL. We had everything plugged up to the same outlet. But only our DSL got hit. Go figure! Hubby bought two DSL modems off EBAY. Took them 4 days to get here after buying them. Worked on them and called CenturyTel for some numbers and the guy was a complete JERK said we didn't need any numbers. Still wouldn't work. So gave up. Well yesterday hubby called back and a lady gave us the numbers we needed to get it working. And VIOLA it works. So the guy was a complete JERK! So here I am BACK! I'm so way behind! I will get caught up I hope! And let me tell you its so wonderful to be back online! I just can't tell you. I've been so bored out of my mind! LOL!! HUGS TO ALL OF YOU!
Jamaica!! Color Combo Card
I made this card for my card a day challenge over at Savvy N Sassy. We were to use either the design of the flag or colors of the flag in our cards. Supplies: Bazzill CS's, Ribbon supplied by SnS, stamp, rubon
Thursday, April 3, 2008
Subscribe to:
Posts (Atom)